 www.pexels.com
 Introduction: Exploring DIY Aquaponics
Aquaponics, the symbiotic combination of aquaculture (raising fish) and hydroponics (growing plants without soil), offers a sustainable and space-efficient way to produce fresh food. Building your own DIY aquaponic system can be a rewarding project, allowing you to customize the design to fit your available space and resources. This guide provides a step-by-step approach to creating a basic aquaponic system.
Aquaponics, the symbiotic combination of aquaculture (raising fish) and hydroponics (growing plants without soil), offers a sustainable and space-efficient way to produce fresh food. Building your own DIY aquaponic system can be a rewarding project, allowing you to customize the design to fit your available space and resources. This guide provides a step-by-step approach to creating a basic aquaponic system.
Step 1: Planning and Design
Before you start building, it's crucial to plan your system. Consider the following factors:Available space: How much room do you have for your aquaponic setup? Plant and fish selection: Which plants and fish do you want to grow? Some plants thrive better in aquaponic systems than others. Popular choices include leafy greens, herbs, and strawberries. For fish, tilapia, goldfish, and trout are common options. System type: Decide on the type of aquaponic system you want to build. Common types include deep water culture (DWC), media beds, and nutrient film technique (NFT). This guide will focus on a simple media bed system, which is easy to build and maintain. Budget: Determine your budget for the project. Costs can vary depending on the size and complexity of the system. Once you have considered these factors, sketch out a rough design of your system, including the fish tank, grow bed, and plumbing connections.
Before you start building, it's crucial to plan your system. Consider the following factors:
Step 2: Gathering Materials
Here's a list of materials you'll need for a basic media bed aquaponic system:Fish tank: A plastic tote or aquarium will work. Size depends on how many fish you plan to raise. A 20-gallon tank is a good starting point. Grow bed: Another plastic tote or container, slightly smaller than the fish tank. Grow media: Clay pebbles or lava rock are excellent choices. Water pump: A submersible pump with sufficient flow rate to circulate water between the fish tank and grow bed. Plumbing: Tubing, fittings, and valves to connect the fish tank, grow bed, and pump. Air pump and air stone: To oxygenate the water in the fish tank. Siphon (optional): A bell siphon or auto-siphon can automate the flooding and draining of the grow bed. Timer (optional): To control the water pump's on/off cycles. pH testing kit: To monitor the pH of the water.
Here's a list of materials you'll need for a basic media bed aquaponic system:
Step 3: Building the System
Prepare the fish tank: Clean the fish tank thoroughly. Place it on a stable surface. Prepare the grow bed: Drill drainage holes in the bottom of the grow bed. Ensure the holes are small enough to prevent the grow media from escaping. Place the grow bed above the fish tank so gravity can assist with water return. You can use cinder blocks or a sturdy table. Connect the pump: Place the submersible pump in the fish tank. Attach tubing to the pump's outlet. Run the tubing to the grow bed. Install the siphon (optional): If using a siphon, install it in the grow bed according to the manufacturer's instructions. Connect the return: Connect tubing from the grow bed's drainage holes back to the fish tank. This allows water to drain back into the fish tank after flooding the grow bed. Add grow media: Rinse the grow media thoroughly to remove any dust or debris. Fill the grow bed with the rinsed media. Install the air pump: Place the air stone in the fish tank and connect it to the air pump.
Step 4: Cycling the System
Cycling the system is crucial to establish a beneficial bacteria colony that converts fish waste into plant nutrients.Fill the system: Fill the fish tank and grow bed with dechlorinated water. Add ammonia: Introduce a source of ammonia to the system. You can use pure ammonia or fish food. Monitor water parameters: Test the water daily for ammonia, nitrite, and nitrate levels. Wait for cycling: The cycling process typically takes 4-6 weeks. The ammonia and nitrite levels will spike and then eventually drop to zero as the beneficial bacteria multiply. Nitrate levels will increase. Once ammonia and nitrite levels consistently read zero, the system is cycled.
Cycling the system is crucial to establish a beneficial bacteria colony that converts fish waste into plant nutrients.
Step 5: Adding Fish and Plants
Introduce fish gradually: Add a small number of fish to the tank initially. Allow them to acclimate to the water conditions. Gradually increase the fish population over time. Plant seedlings or seeds: Plant seedlings directly into the grow media. Alternatively, you can start seeds in rockwool cubes and transplant them to the grow bed once they have developed roots. Monitor the system: Regularly monitor the water parameters (pH, ammonia, nitrite, nitrate) and adjust as needed. Maintain a pH between 6.0 and 7.0.
Step 6: Maintenance and Care
Feed the fish: Provide the fish with a balanced diet. Water changes: Perform partial water changes regularly (e.g., 10-20% weekly) to remove excess nutrients and maintain water quality. Clean the system: Remove any debris or algae from the fish tank and grow bed. Maintain the pump and air pump: Clean or replace the pump filters as needed. Check the air stone for clogs. Prune plants: Prune plants regularly to promote healthy growth.
Conclusion: Enjoying Your Aquaponic Garden
Building a DIY aquaponic system can be a fun and educational experience. With proper planning, construction, and maintenance, you can enjoy fresh, homegrown produce and healthy fish, all while practicing sustainable gardening techniques. Remember to research the specific needs of your chosen plants and fish to ensure a thriving aquaponic ecosystem. Happy growing!
Building a DIY aquaponic system can be a fun and educational experience. With proper planning, construction, and maintenance, you can enjoy fresh, homegrown produce and healthy fish, all while practicing sustainable gardening techniques. Remember to research the specific needs of your chosen plants and fish to ensure a thriving aquaponic ecosystem. Happy growing!
 agromoris.com
  fity.club
  survivallife.com
  www.dreamstime.com ```html
  www.agrifarming.in
 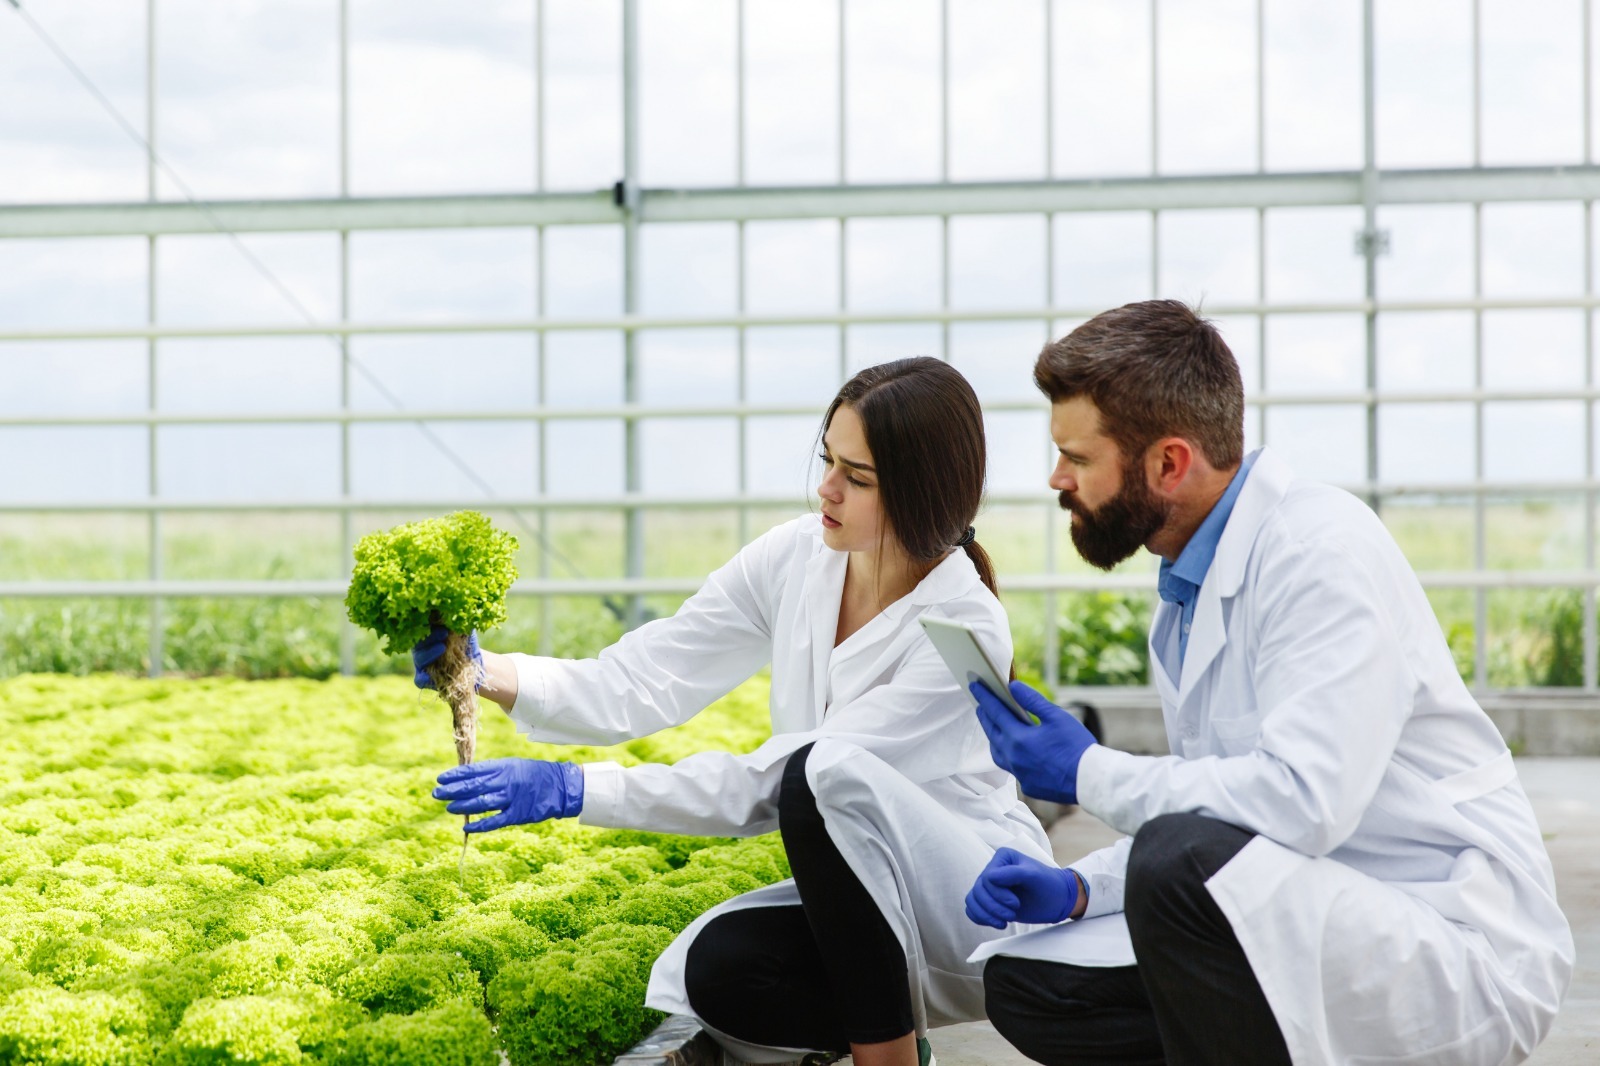 mohitmangal.com
  fity.club
  smallbackyardlandscapeideas.blogspot.com
  www.tractorjunction.com ```html
  systemaqua.blogspot.com
  timesofagriculture.com
  masonstreetfarm.com
  aponicbuild.blogspot.com
  systemaqua.blogspot.com


